Early on during this whole COVID situation we all had a ton of creative energy. When my state first put out the stay home orders my guild decided we would run a virtual sew along with improv prompts. I’m not exactly sure how many people actually participated but since I was creating and posting the prompts on Instagram it was a good distraction for me. This was also a fun project to try out some interesting materials and techniques.

The way the prompts worked is that I made a list of standard shapes found in quilts and picked one a week to base an improv block off of. My list was HSTs, squares, rectangles, log cabin, courthouse steps, applique blobs, triangles, flying geese, crosses, pluses, stripes, grid, and curves. We had roughly decided on an 8 week schedule and that we would keep going if there was a lot of participation and interest.
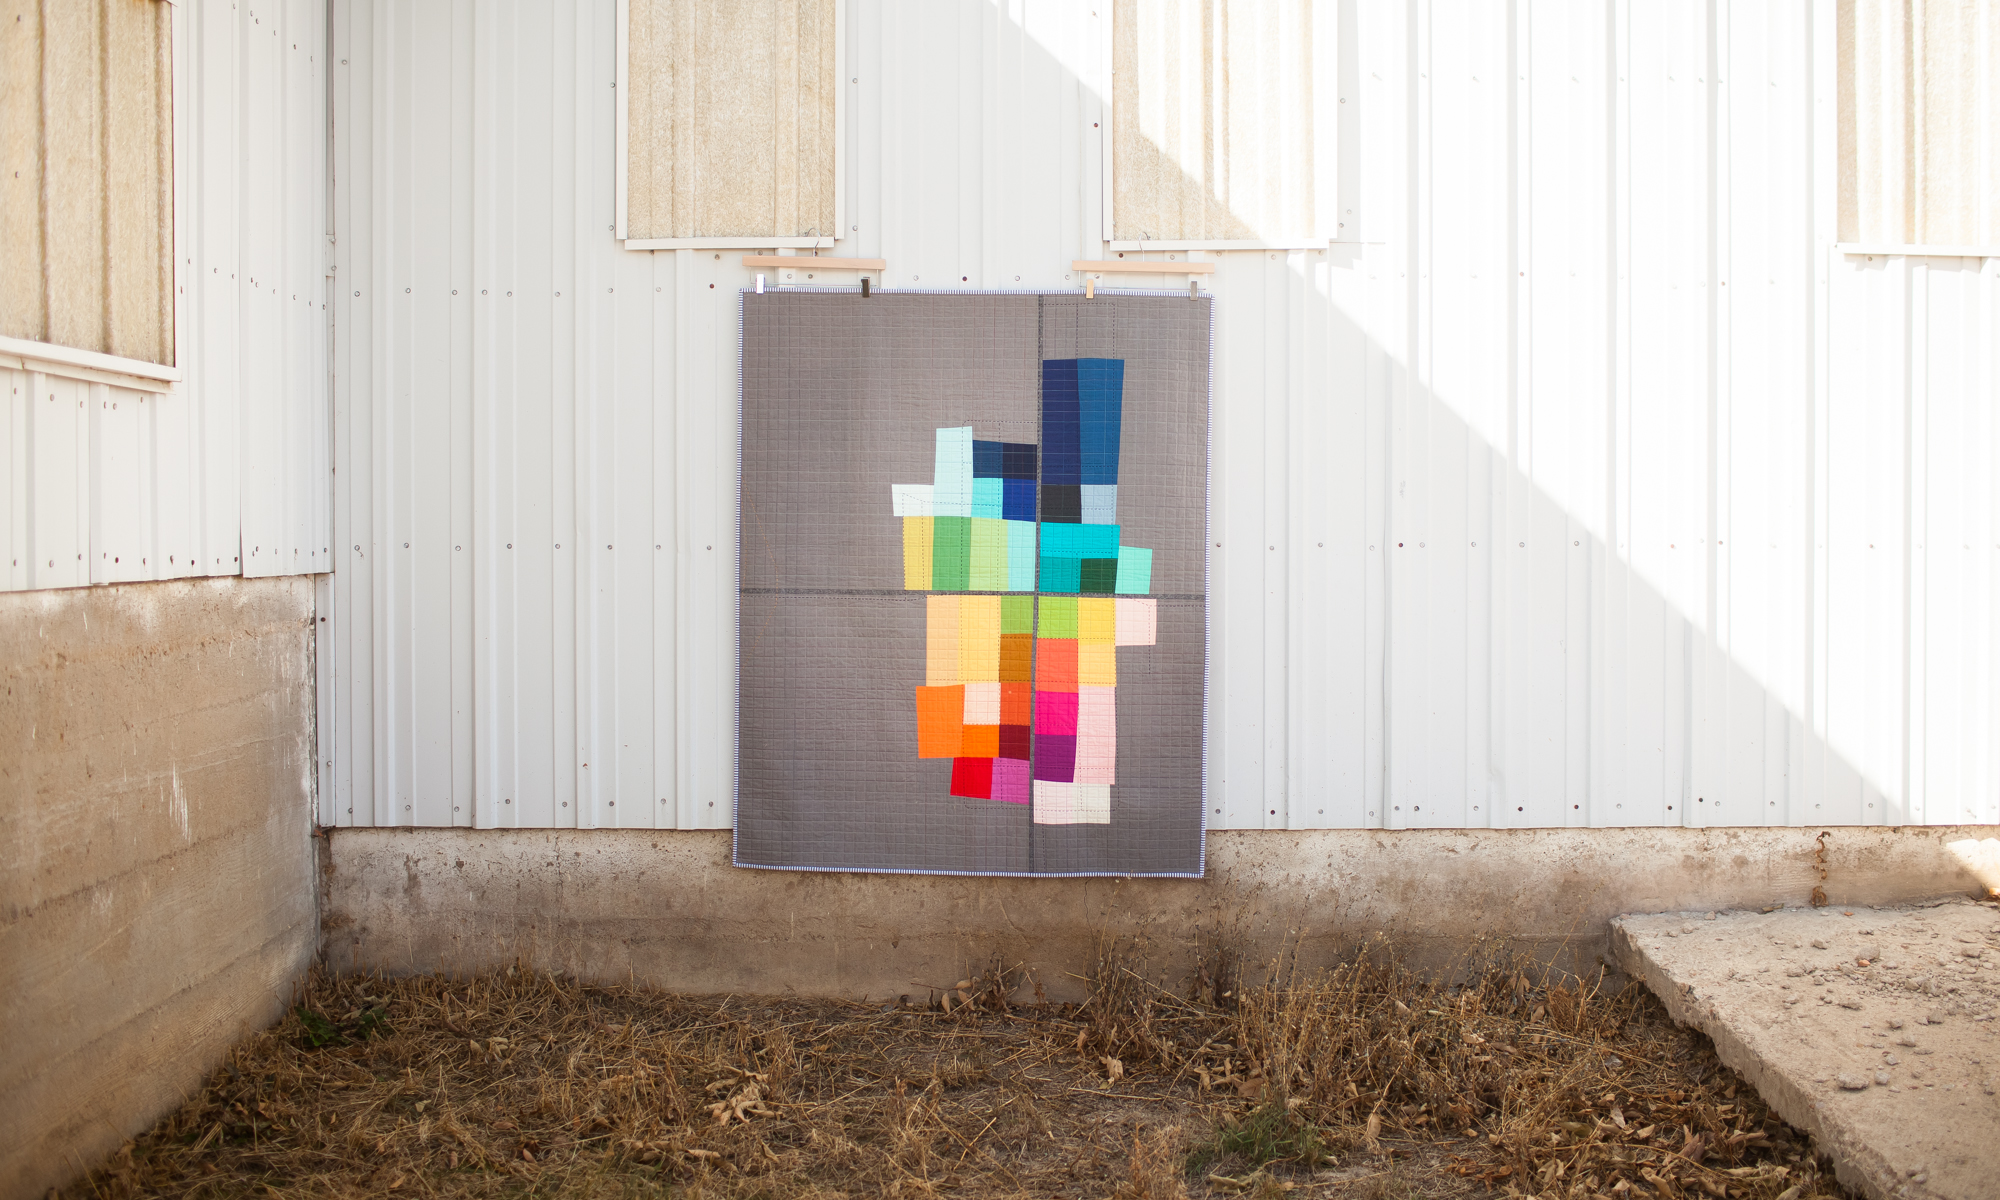
The first week I selected HSTs and constructed my block with a few parameters I set up for myself. I wanted to only use from my small scrap bins of low volume and Micheal Miller cotton couture solids. I had a lot of small pieces of the cotton couture returned to me at the end of my round robin quilt project and I felt this would be a good way to put a dent in them. I also decided I wanted my block to end up square, semi-large (over 9″), and that I would use my ruler but piece improv/wonky.


While assembling my first week’s block, I ended up making a last minute decision to put a large chunk of solid fabric on one side with a small strip of accent color. This was truly just a lazy way for me to get my block to be square but I ended up really liking it and thought it would be a good way to tie all the blocks together.


After the first several weeks I was struggling with the project. I feel like every quilt block looks better with bright pink in it so I was trying to squeeze it in but also use a color scheme on each block. At this point I was also knee deep in making masks every day while trying to keep my then first grader occupied for school each day. I was lacking inspiration and just doing the motions. For week 5 I decided to select a prompt I was excited about and go back to a color scheme with more pink. I was happier with this block than the previous weeks’ blocks. So moving forward I listened to my gut about color and fabric selection.


I felt like I was making progress and having fun just playing with the fabric again. Then after the week 7 block I knew my project had been saved and would not end up a pile of orphaned blocks. There was one more week in our official sew along but I decided to also make a ninth block so I could end up with a square quilt. After all my blocks were assembled I moved forward with the plan to hand quilt each block independently from each other. I would assemble the quilt in a makeshift QAYG way. At this point I knew I would just be experimenting.


I also decided to try to use up the black batting that I had scraps of so I quilted mostly with black perle 8. You can read my thoughts on perle 8 cotton for big stitch quilting here. After quilting each block I trimmed them to size. Then I stitched them together on the machine using a zig zag stitch. I wasn’t sure how I was going to bind the quilt since the quilt generally didn’t have the super polished, perfectly finished look because of the raw edges showing through the zig zag stitching. I ultimately decided to experiment with a bit of sheer fabric and whatever was lying out on my cutting table made up the rest.


I’m super happy with the final result of all my experimentation. This quilt finishes just over 30″ square. I plan to enter this into the small quilts category for QuiltCon Together 2021.